I usually try to make it an annual Halloween goal to spend as little as possible on costumes. So far, I have had great success in this. We were given an unused baby chicken costume when EG was born that fit her for her 2nd Halloween. She wore that to one event, to the other she wore a totally retro, red and white plaid, polyester pant suit with a bonnet that was mine in 1977.
Last year, she went as a garden gnome by wearing another old dress of mine (with a little Bavarian girl vibe), flower tights and a pointy hat that I made out of a $0.79 piece of stiff red felt and some felt scraps and ribbon from my basement stores.
This year I wanted to make an owl costume, so I found a few ideas on Pinterest. I used this one for the feather template, but I wanted it to have wings, so I used this one for the shape of the costume. I also knew that I would never finish the thing if I had to sew all of those feathers onto it. So I used a gift card to buy pinking shears (to cut down on fraying of the feathers) and fabric adhesive tape (like double sided tape for fabric). I found a selection of fabric from my basement stores that had the color scheme I was looking for and started tracing and cutting out feathers. When I thought I had enough feathers, I cut out more and more and more. Then I sat down and cut a small piece of tape about the width of the feather and stuck it on (leaving the other paper side on) - warning: this will ruin a pair of scissors, so use old ones that you can just throw away when you're done.

Then I found a larger scrap of fabric that was big enough to make the base of the wing "cape." I used flannel simply because A. I had it on hand, B. it was big enough and C. it matched the color scheme. I cut a semi-circle that was long enough to reach from finger tip to finger tip at the longest point and tall enough to reach from the base of the neck to the tailbone at the highest part of the arc (folding the fabric in half makes drawing this, and cutting this out, a little less painful). I then sewed ribbons to the ends where the wrists would be so that the wings could be tied to her wrists and she could flap her wings.
Then it was time to start adding feathers to the cape. I started at the bottom of the arc and laid out a row of feathers in a color pattern that I liked and then took the backing off and stuck them down. I then laid out the second row, overlapping the first row and staggering the points of the feathers, and then stuck them down. I repeated this until I was at the top, continuing to follow the shape of the arc a little bit with every row. I then laid out a row of all orange ones to finish off the top (I'm not super happy with how that part looks, but it's not a huge deal).
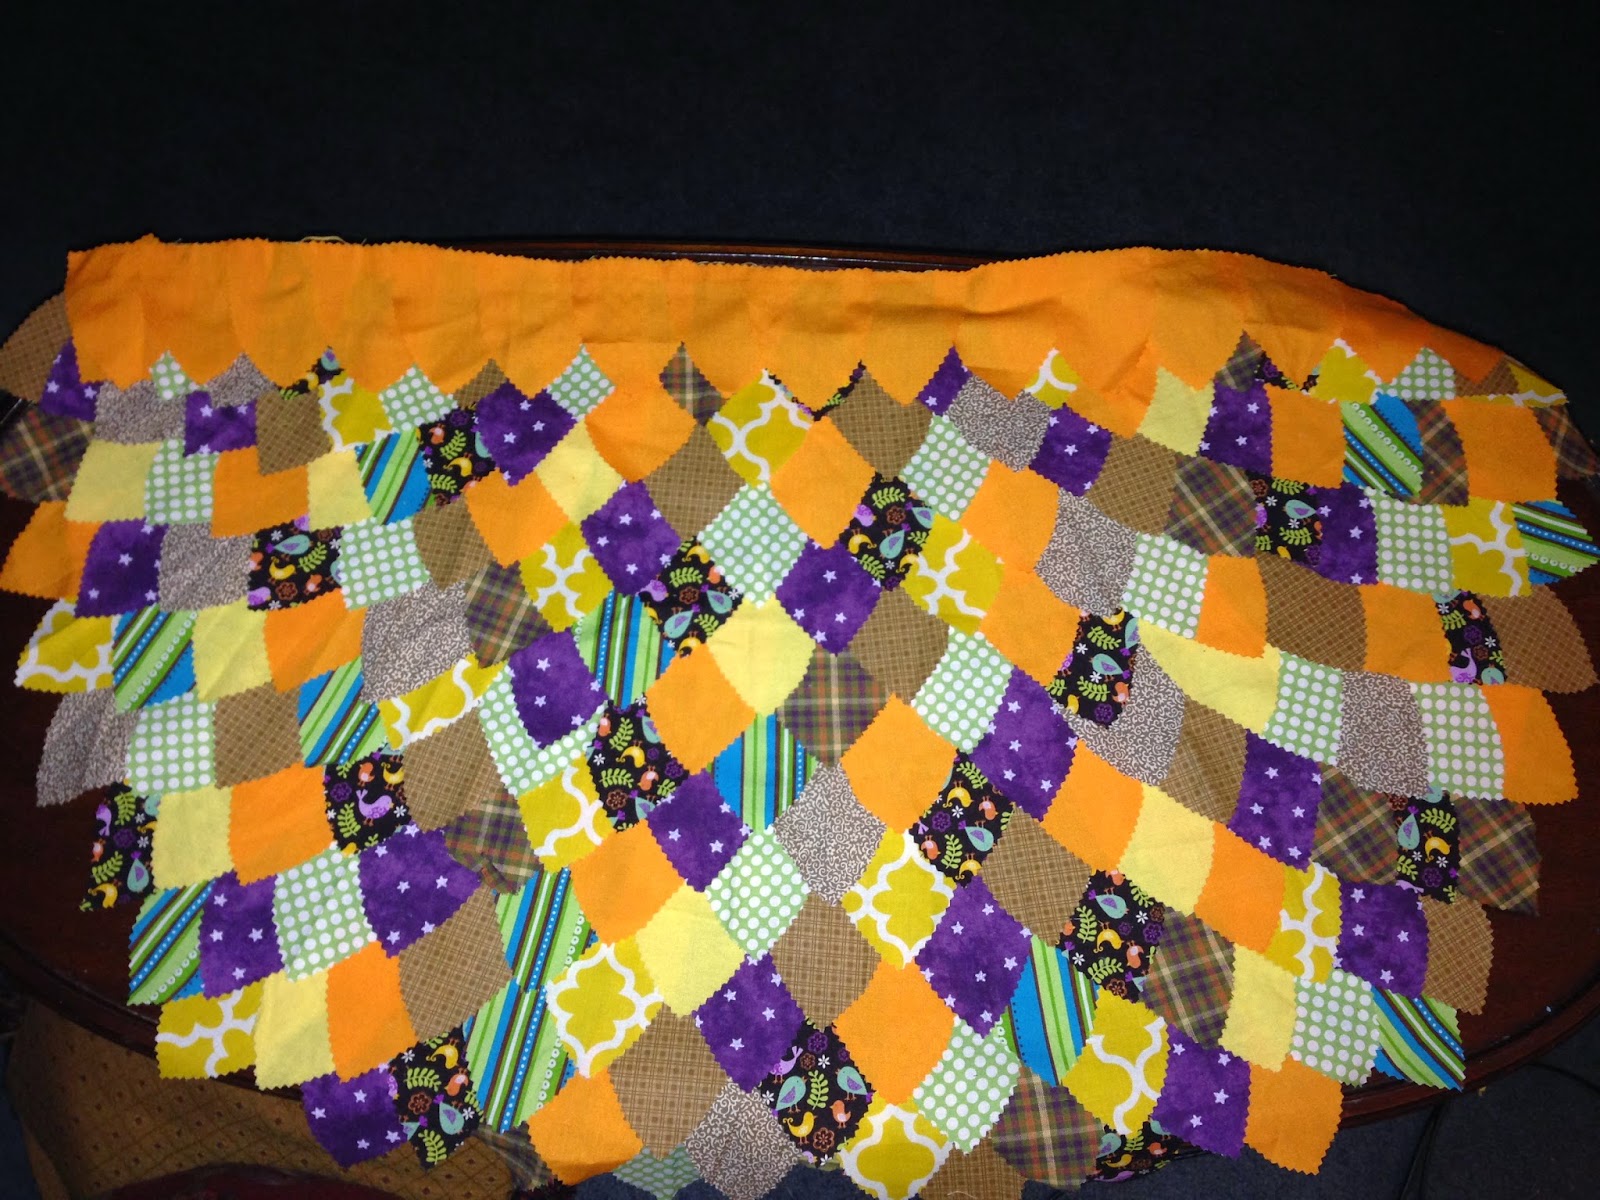
I did the same thing with a small rectangle (about the size of her torso) and a small trapezoid (for a tail). The orange feathers were used to make a neckline on the front torso section as well. I attached the torso section to the top of the cape, in the center with 2 pieces of ribbon set far enough apart to fit her head through. The tail section stayed separate and was just pinned to the base of her shirt.
Then there was the hat. I found a $0.49 fleece hat at the thrift store, with the tags still on it, and in the right color. I used 4 feathers (2 plaid for the outside and 2 yellow flannel for the inside) to make the ears (I just kind of made it up as I went until I got a shape that I liked). I hand stitched them to the top. The eyes and beak were made from yellow flannel (machine stitched on), white, black and orange felt (hand stitched on).

The costume was so cute! It was nice because she could wear it over a t-shirt and pants (for the trick or treat event that was warmer than 70 degrees) or over several warm layers (for the snowy night of Halloween).

I'd say this was another successful, low-budget, super cute costume project. I spent around $12 for the fabric adhesive tape and the hat. Plus it cleaned out a ton of scrap fabric that I had piling up in the basement.
No comments:
Post a Comment